
Home/ Our Services/ Interior Painting
INTERIOR PAINTING • COLORADO SPRINGS
Interior Painting in Colorado Springs
Rooms that feel like home. Details that feel considered.
Carroll Painting helps Colorado Springs homeowners plan interior repainting, from walls and ceilings to trim and doors. Family-owned and serving the Springs since 1988, we connect careful surface preparation, color and sheen choices, and a clear written scope. Start with the rooms you want refreshed; we will discuss the work behind the finish.
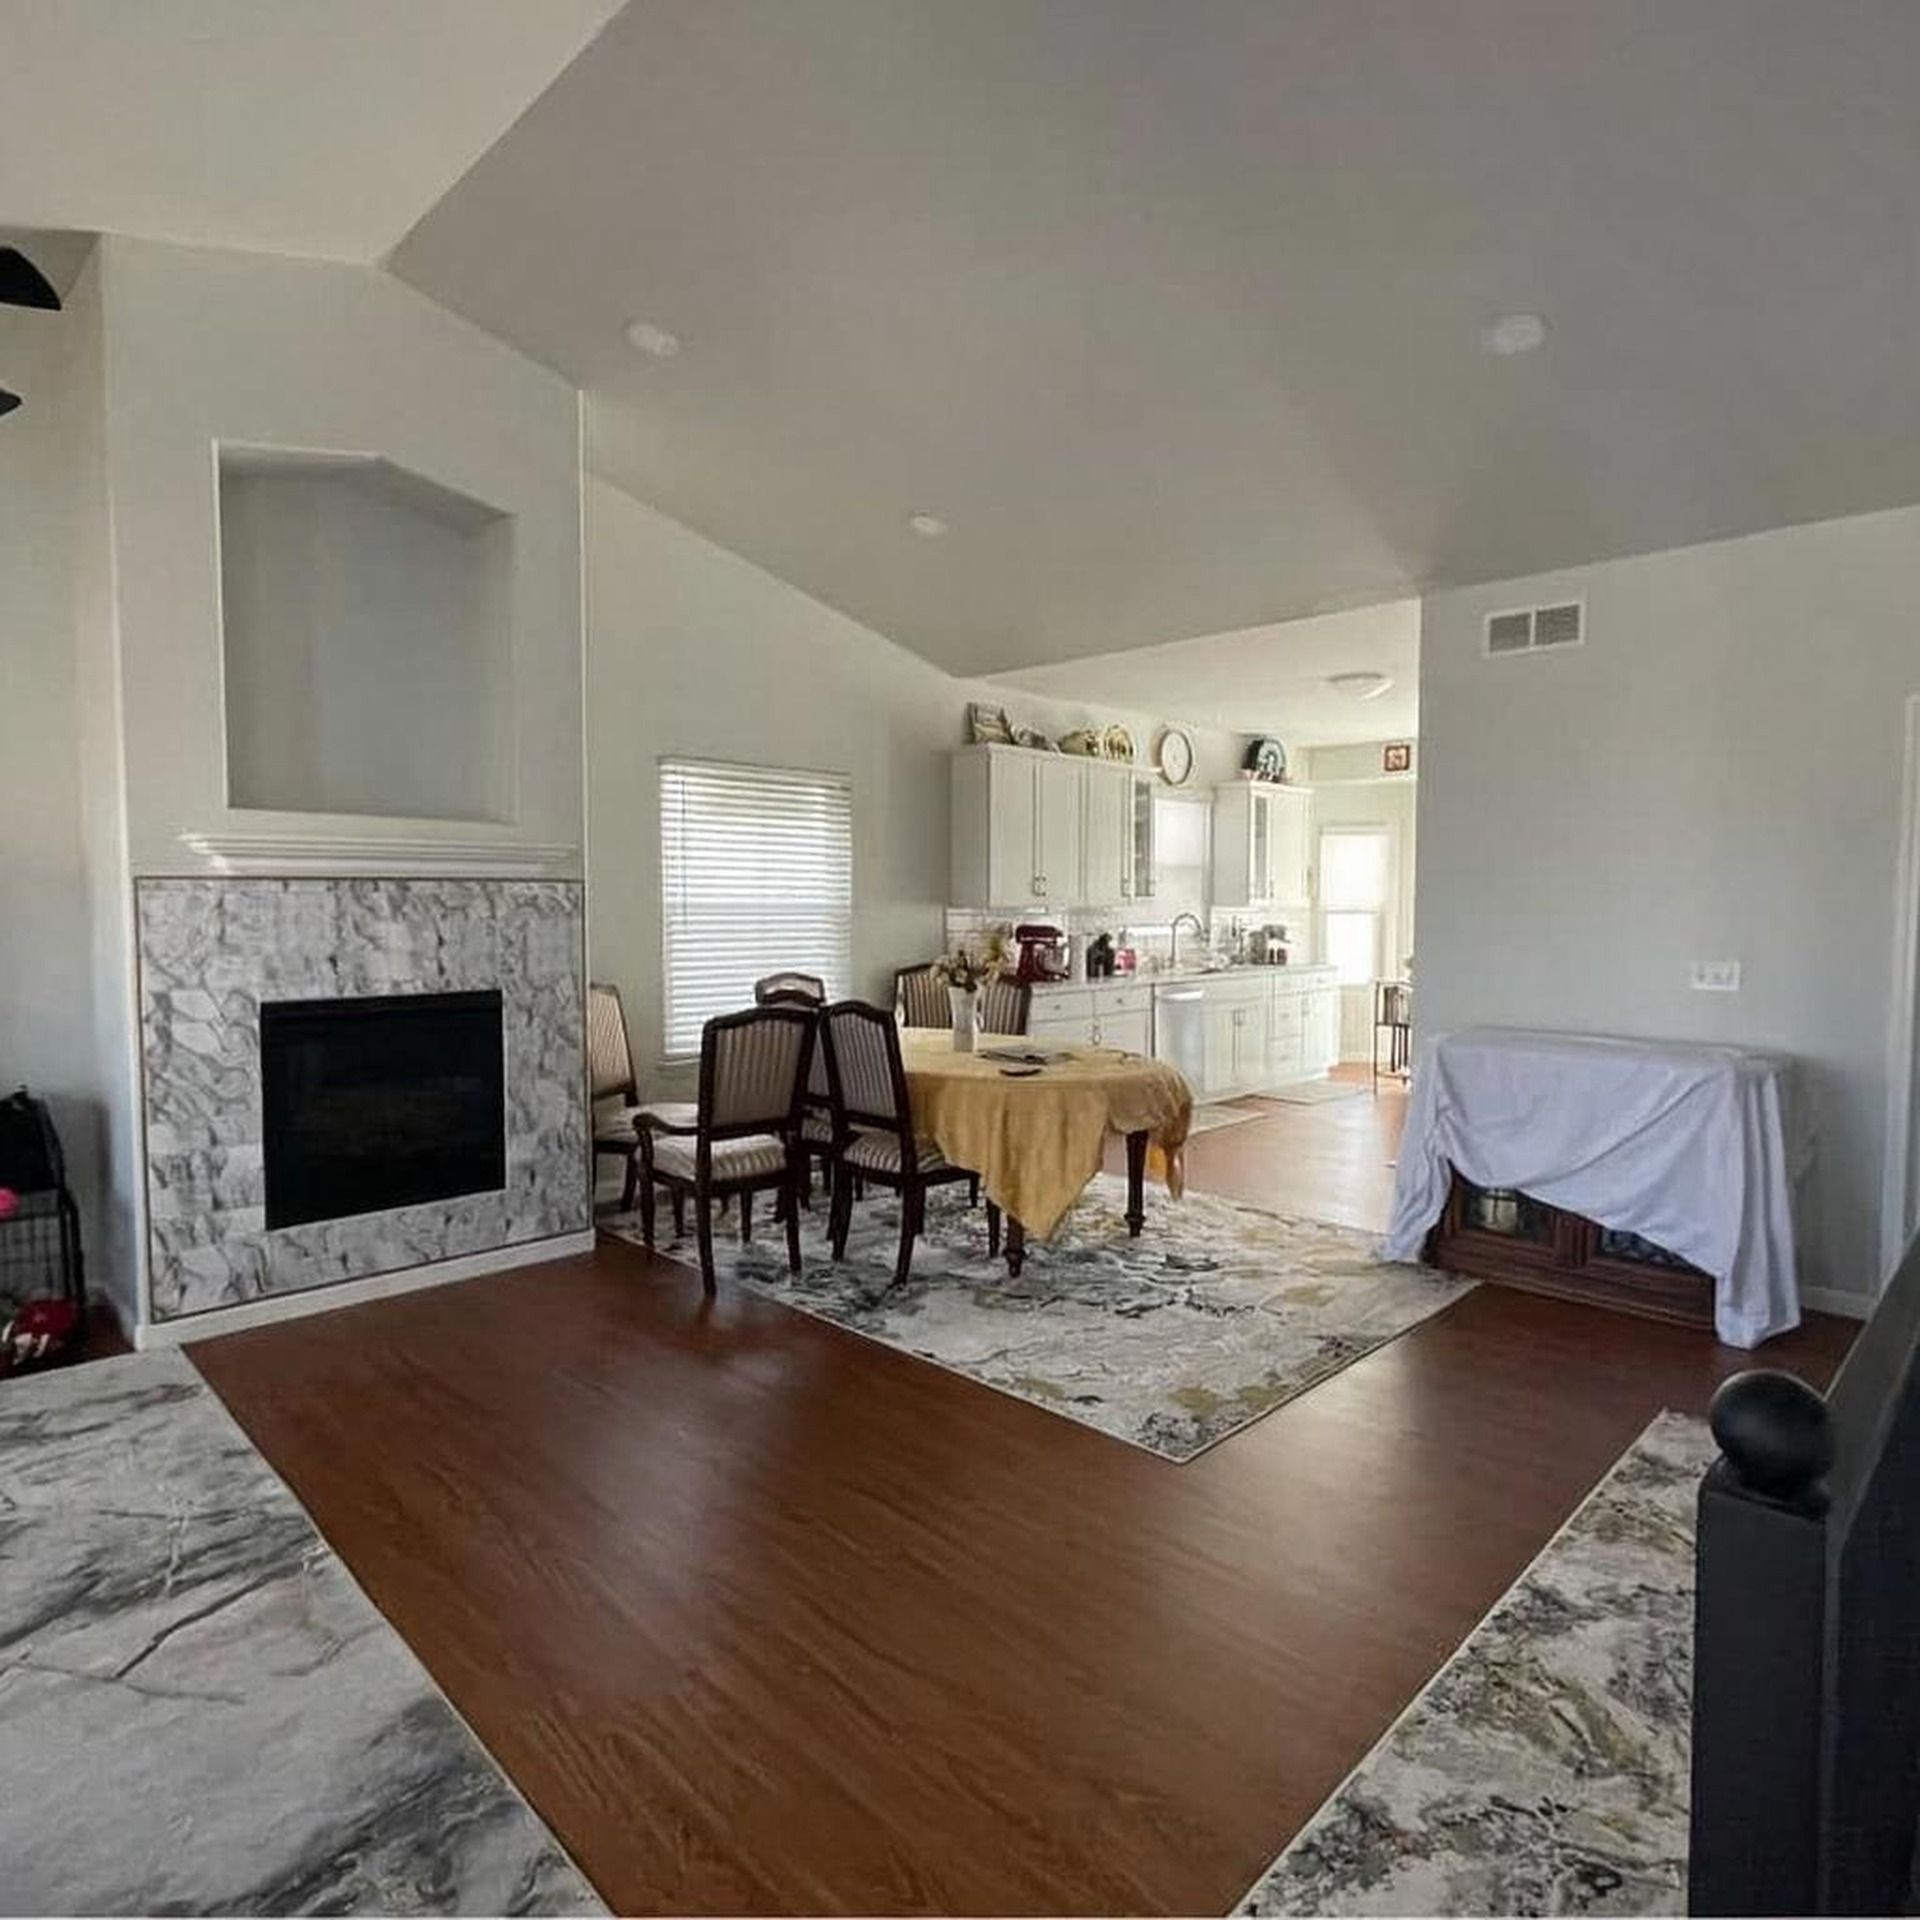
A real Carroll living room repaint. Explore the original before-and-after views below.
Family-owned • Colorado Springs since 1988 • A century of craftsmanship behind the work
A room is more than four walls.
The best place to start is with the room itself. What do you want to keep? What feels dated? Where do wear, old repairs or changing light draw your attention? Those answers help define a useful scope before a color goes on the wall.
Walls & Ceilings
Refresh one room or coordinate adjoining spaces. During the walkthrough, identify high ceilings, previous patches and seams, and the way daylight falls across the walls. Carroll’s Interior Checklist asks how repairs will be feathered and prepared before paint, and which coating is appropriate for each surface.
Trim, Doors & Details
Baseboards, door frames and millwork need their own scope. Discuss dings, gaps, existing finishes and the proposed sheen. Our checklist calls for repair before paint and a clear explanation of sanding, filling, priming and the application method where needed.
Repairs & Related Finishes
Color matching alone may leave a patch visible. Review texture, sheen and the surrounding finish together. Cabinet and built-in refinishing deserves a separate plan for handling doors, preparation and curing before everyday use.
FROM THE CARROLL PROJECT ARCHIVE
A familiar living room, seen in a new light.
The Carroll project archive documents this living room before painting, during its wider update and after completion. The comparison shows how a lighter wall palette changes the relationship between the fireplace, windows and surrounding room.
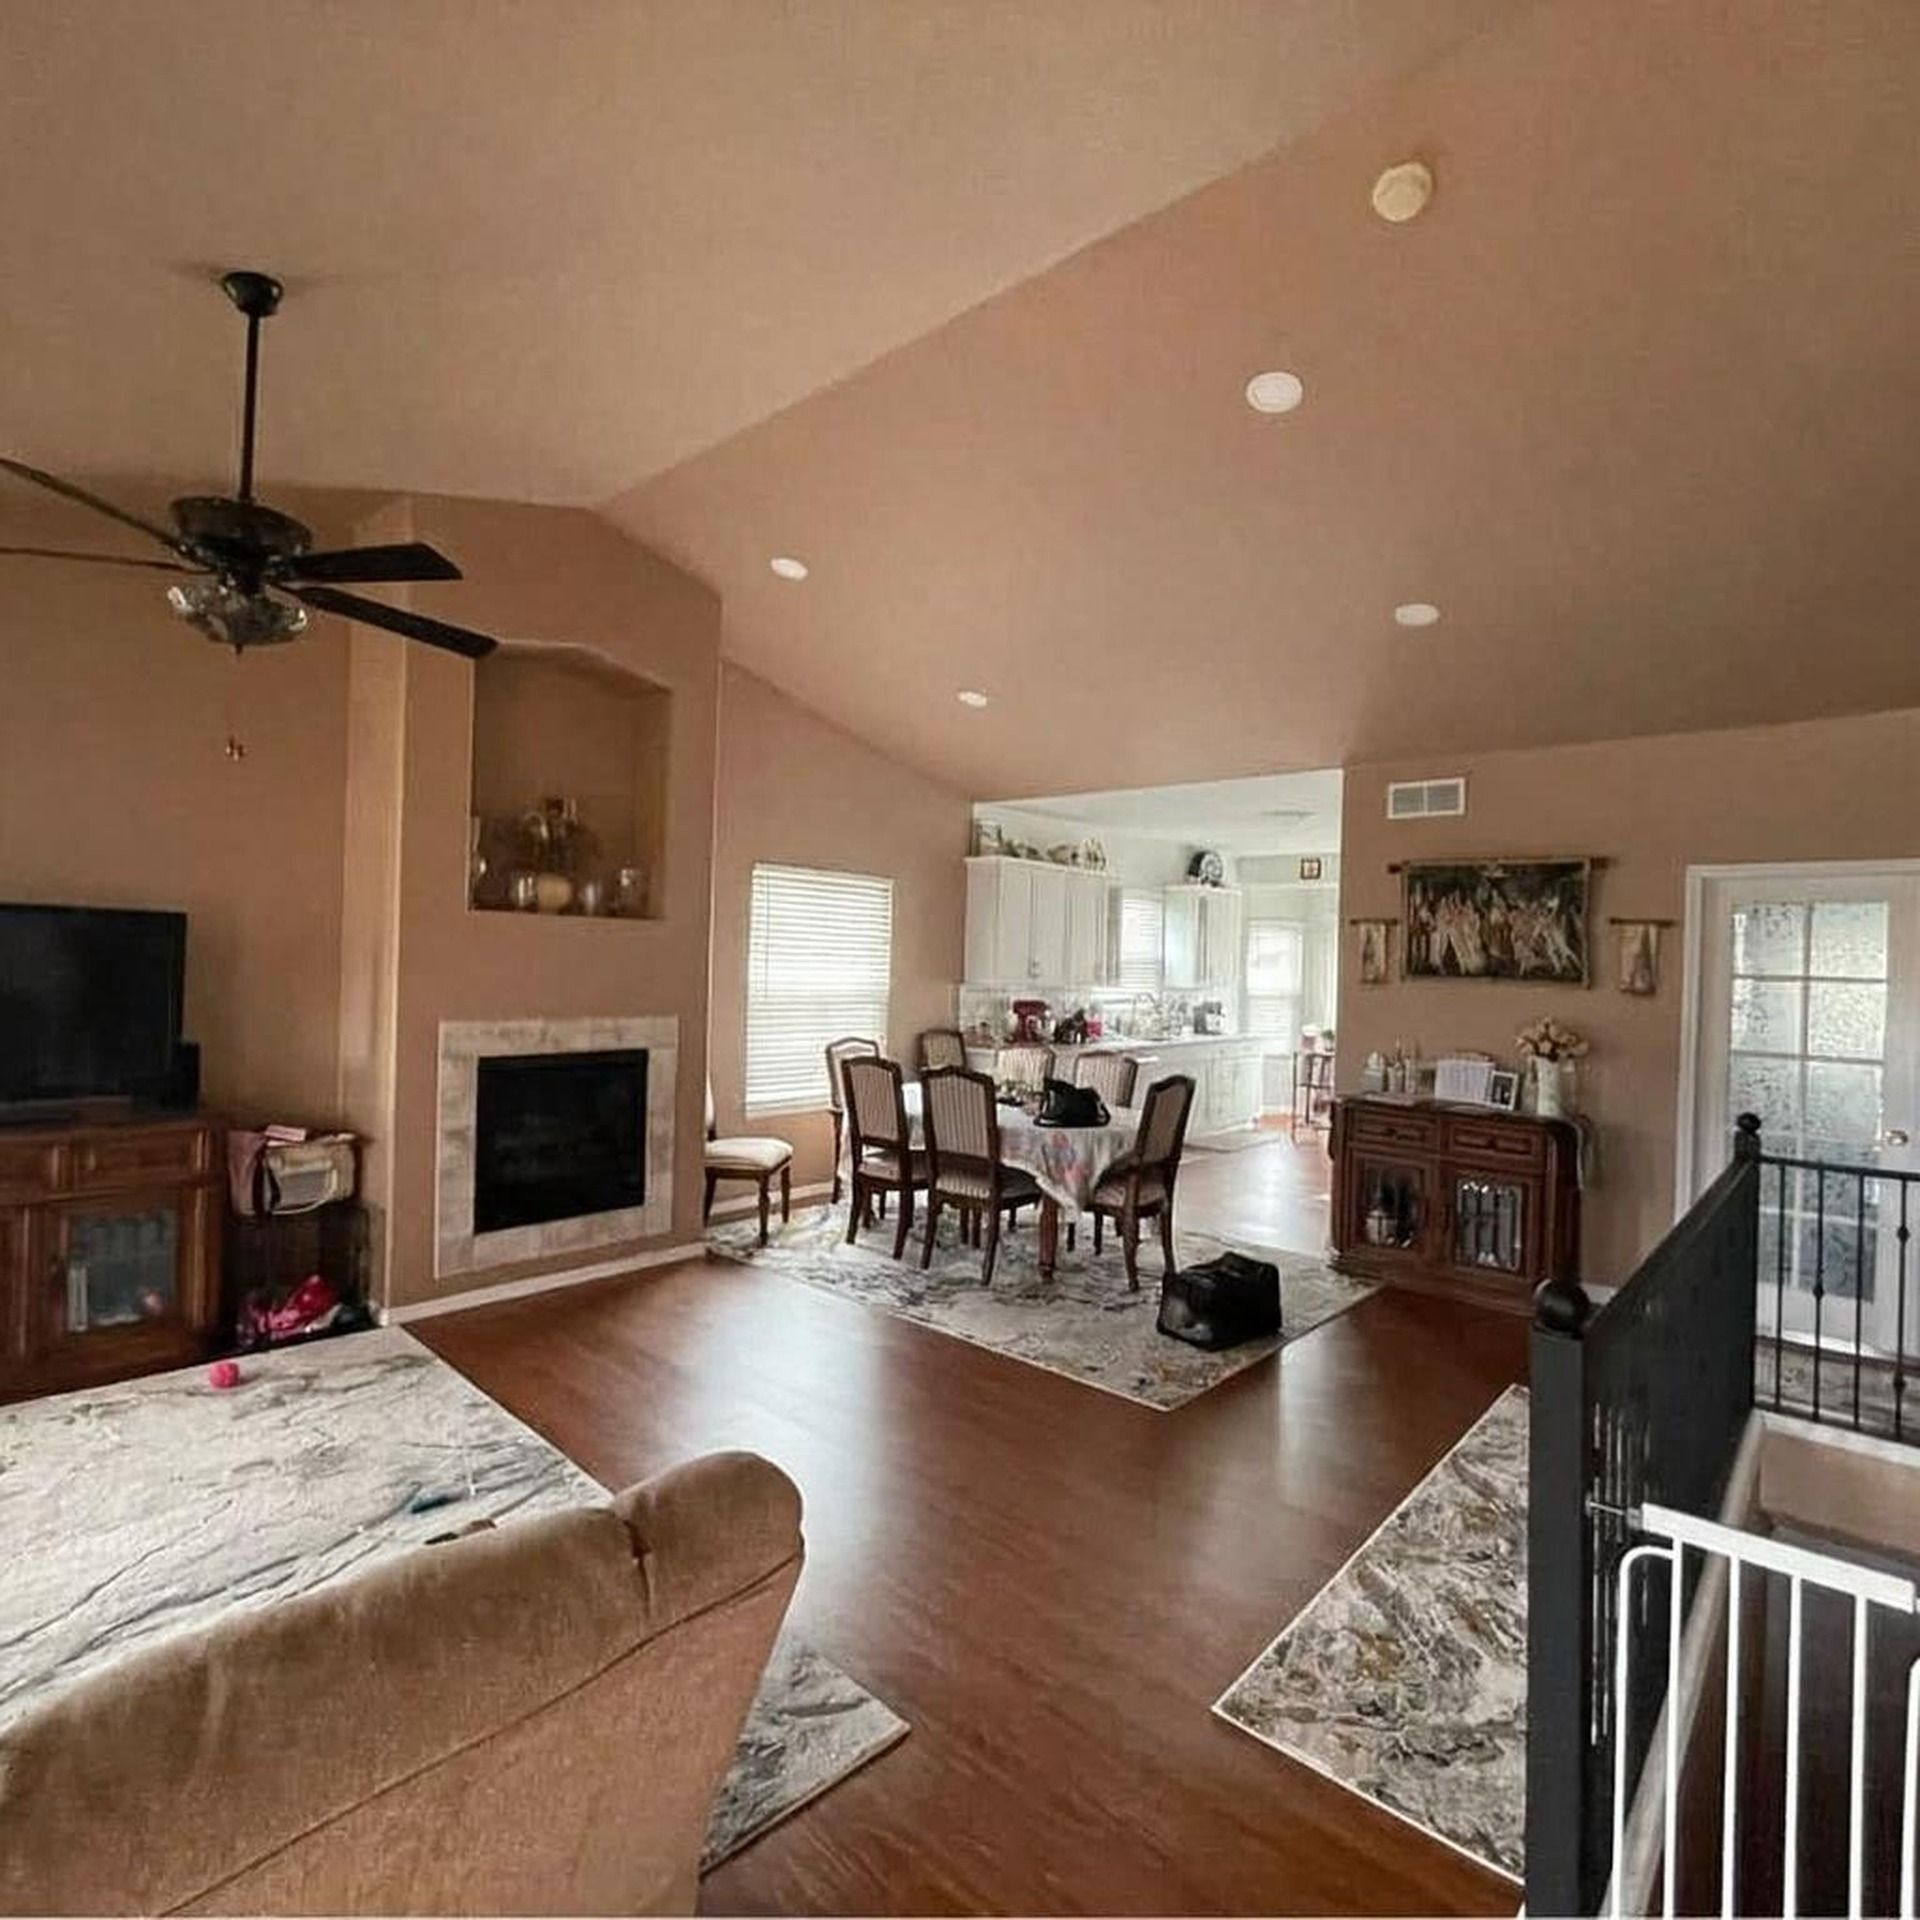
Before: the original darker walls and fireplace setting.
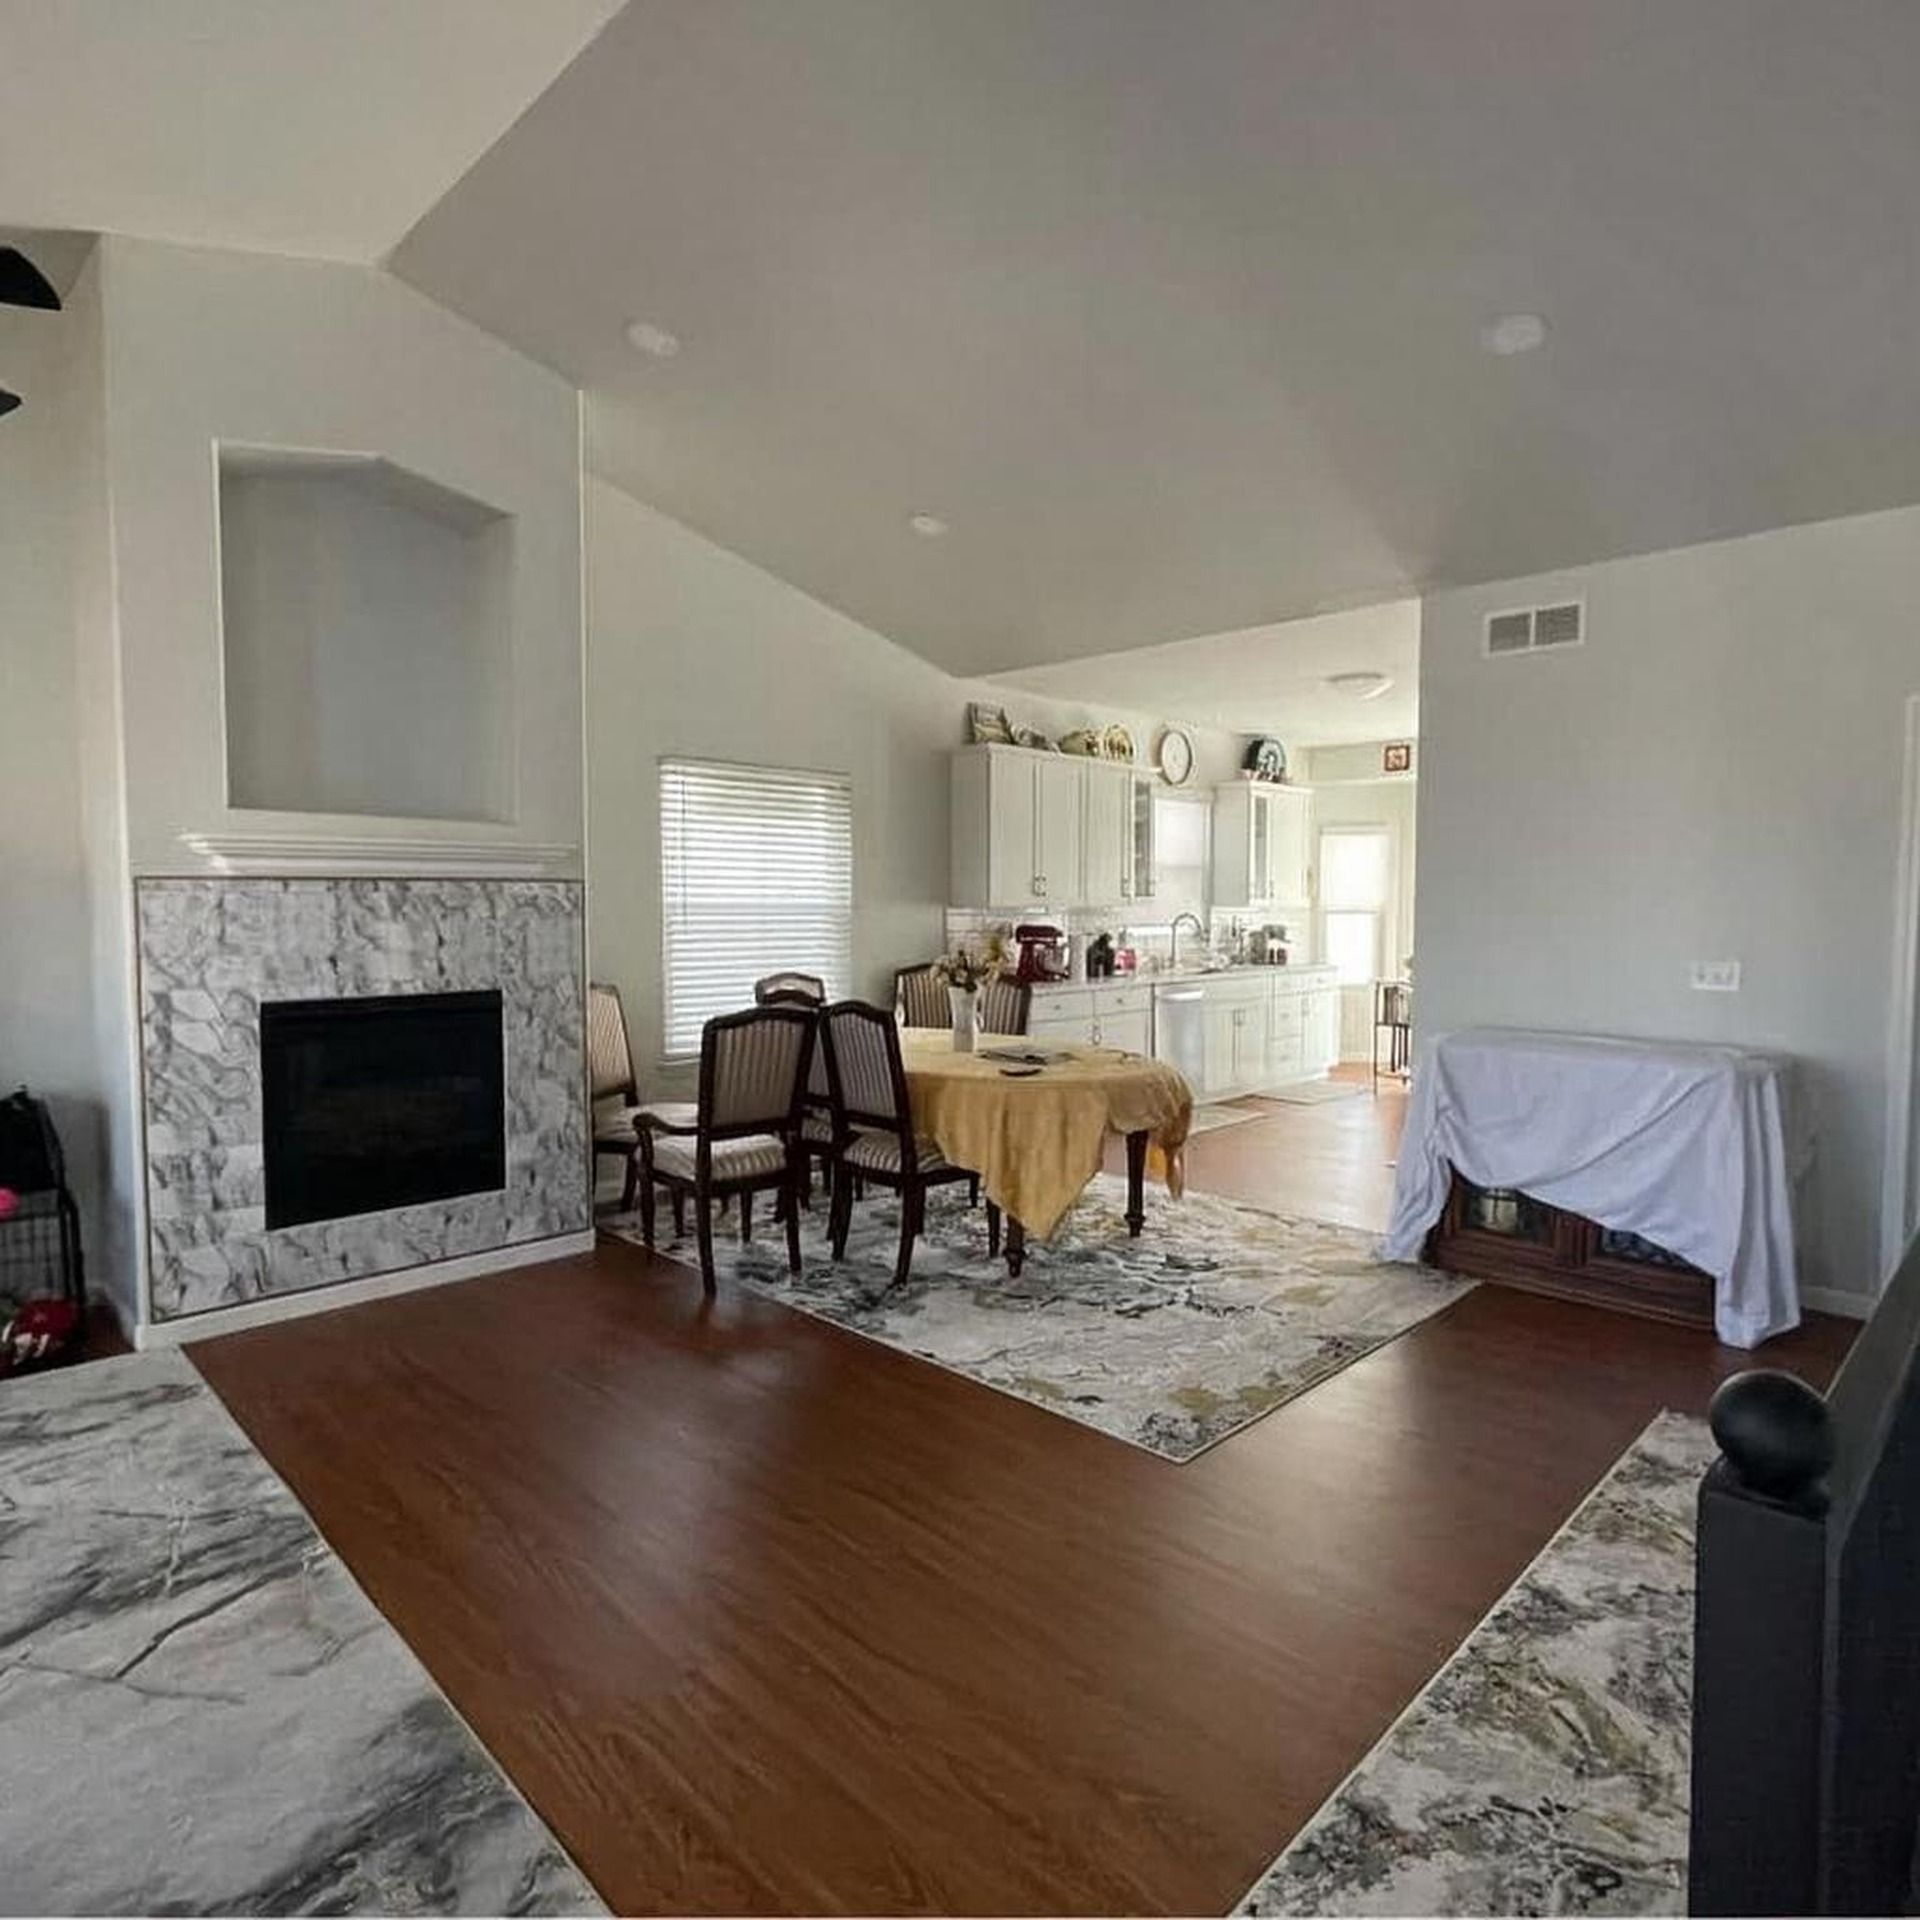
After: lighter painted walls in the updated room. The wider renovation also included fireplace tile; tile installation is not attributed to Carroll.
Starting Point
Brown walls and an established fireplace gave the room a strong visual center. The homeowner’s space was being modernized.
Painting Decision
The wall treatment became lighter, allowing the room’s natural light and architectural features to read differently.
Visible Result
The completed photographs show a brighter overall impression. They document a specific room, not a promise that every existing surface will become perfectly smooth.
MORE RECENT INTERIORS
Cabinets that belong with the room.
Sage cabinetry and island finish in an open kitchen—quiet color, clean edges, everyday light. Cabinet refinishing is a separate scope; learn more on Cabinet Painting. Upstairs, a soft accent wall under skylights shows how simple color decisions hold up as the light changes through the day.
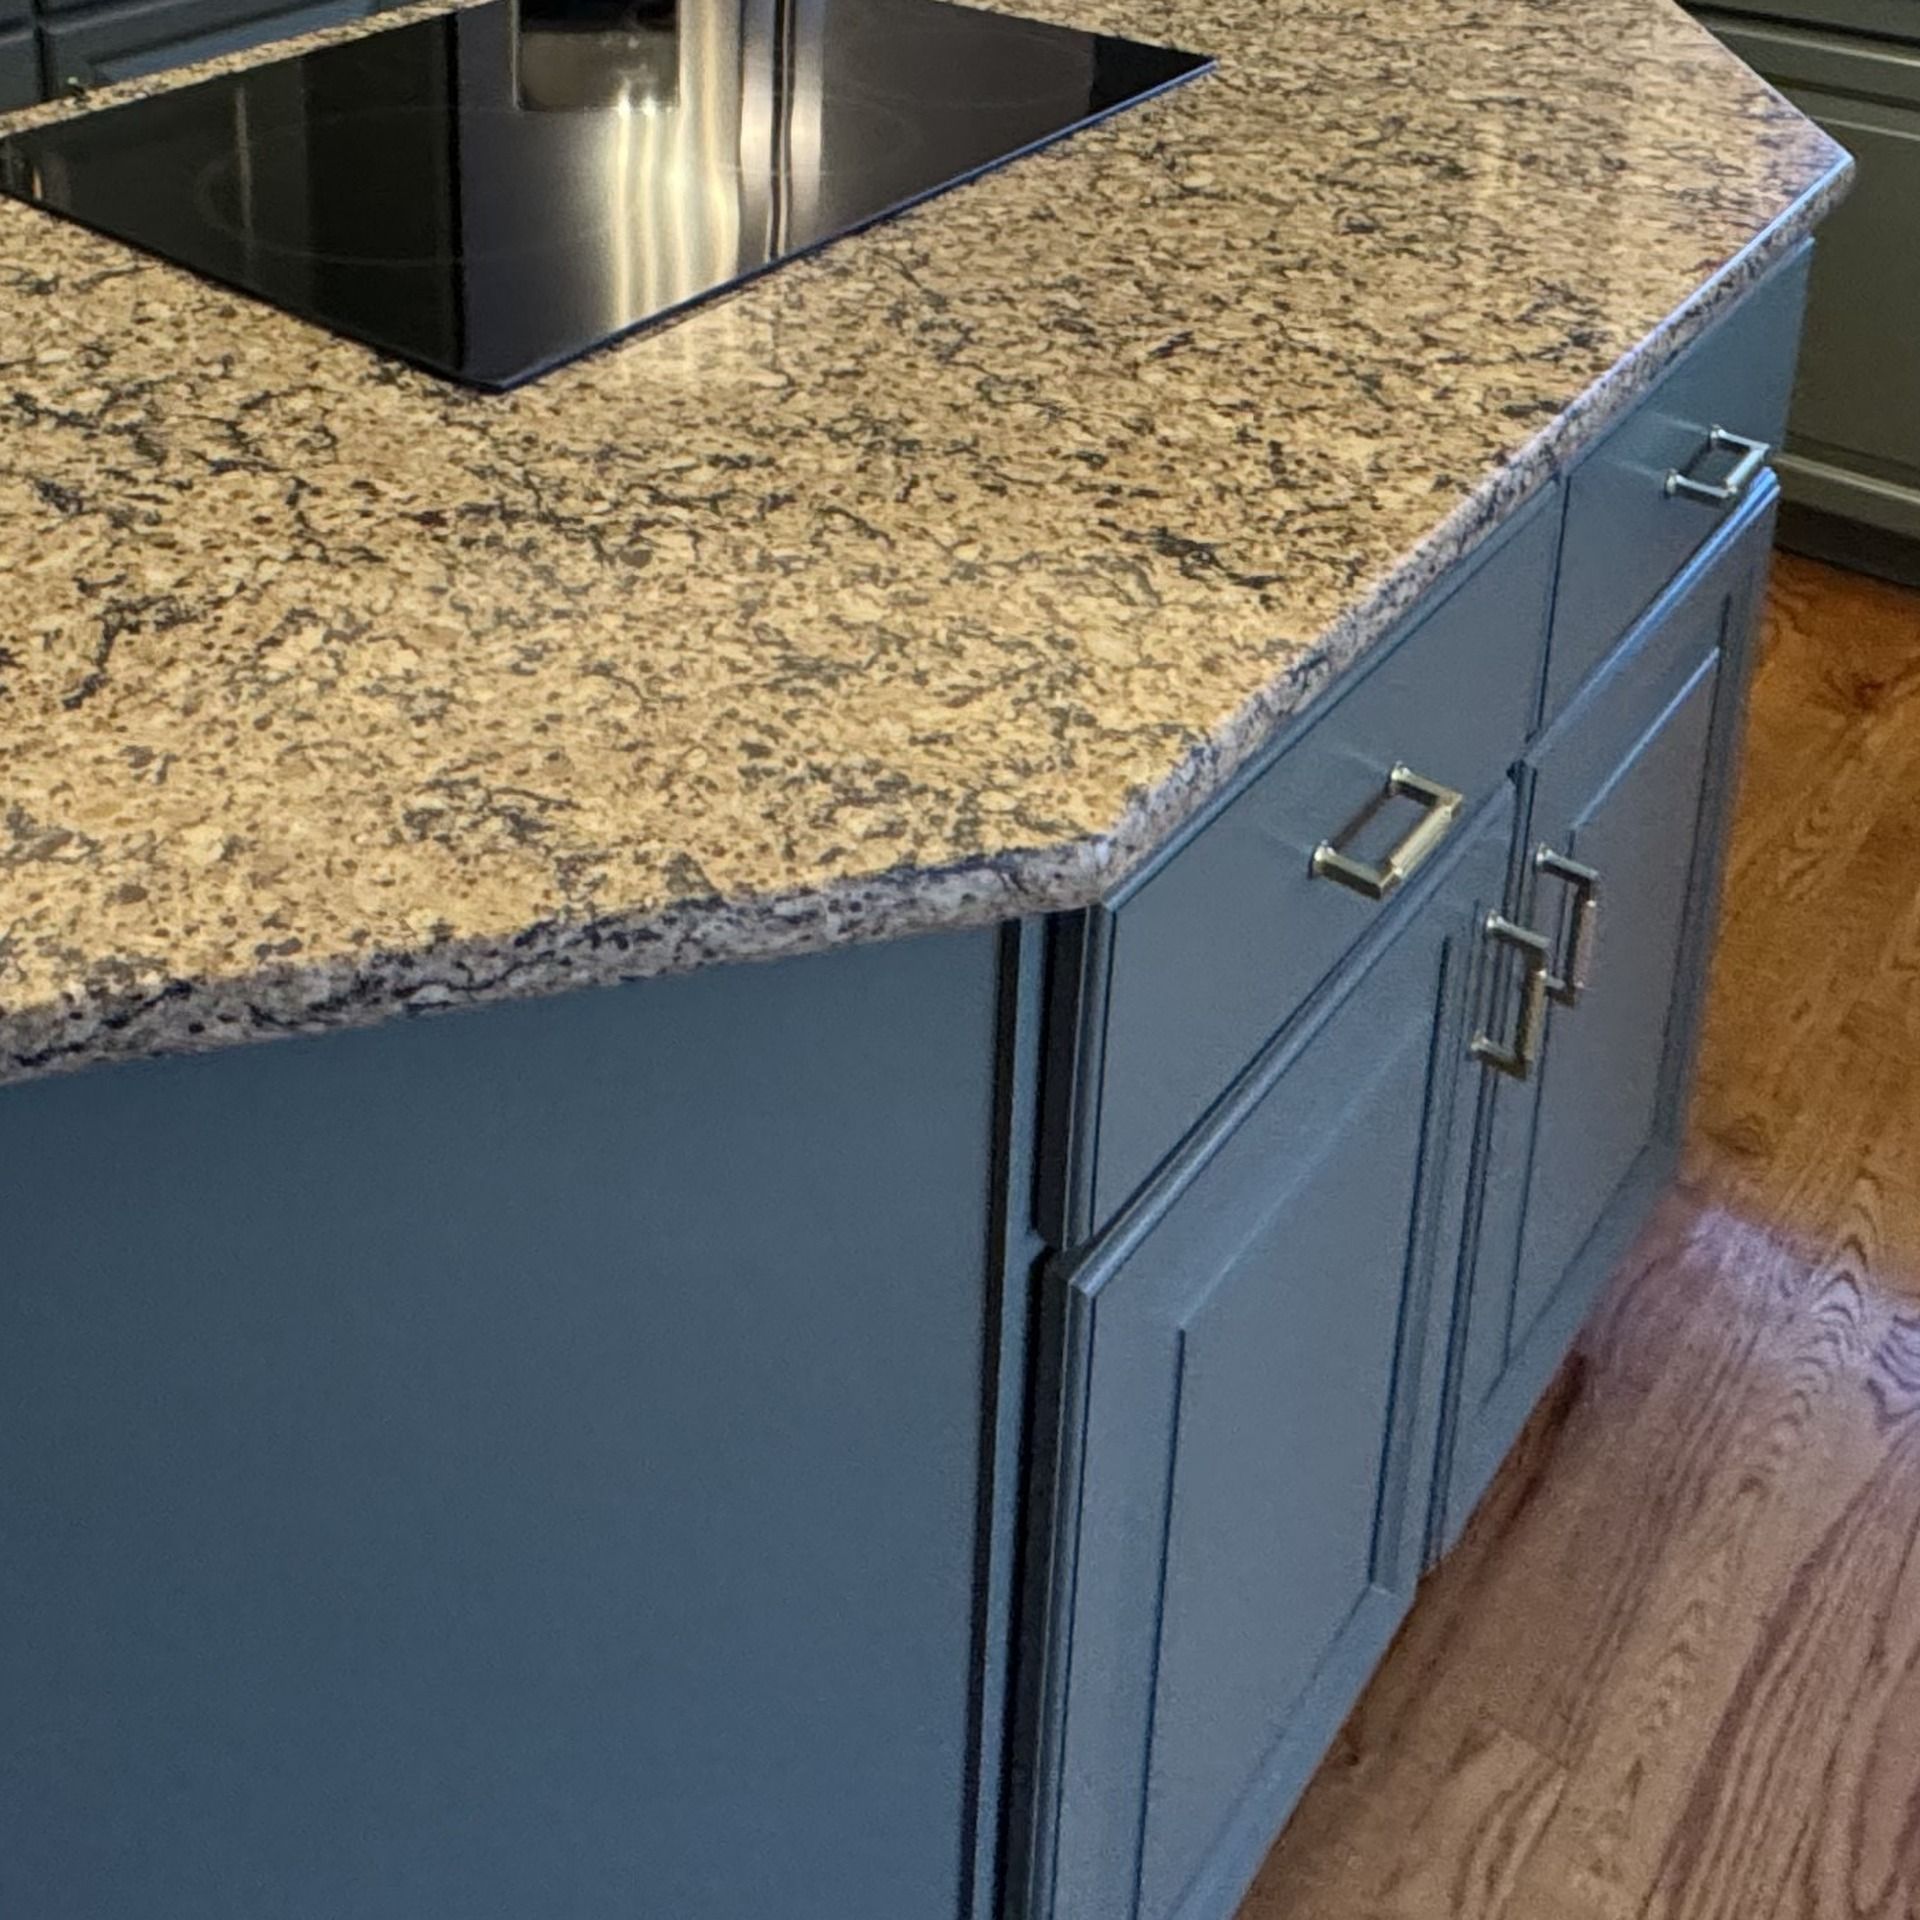
Kitchen cabinet refinishing. Painted island and perimeter cabinetry in an open kitchen.
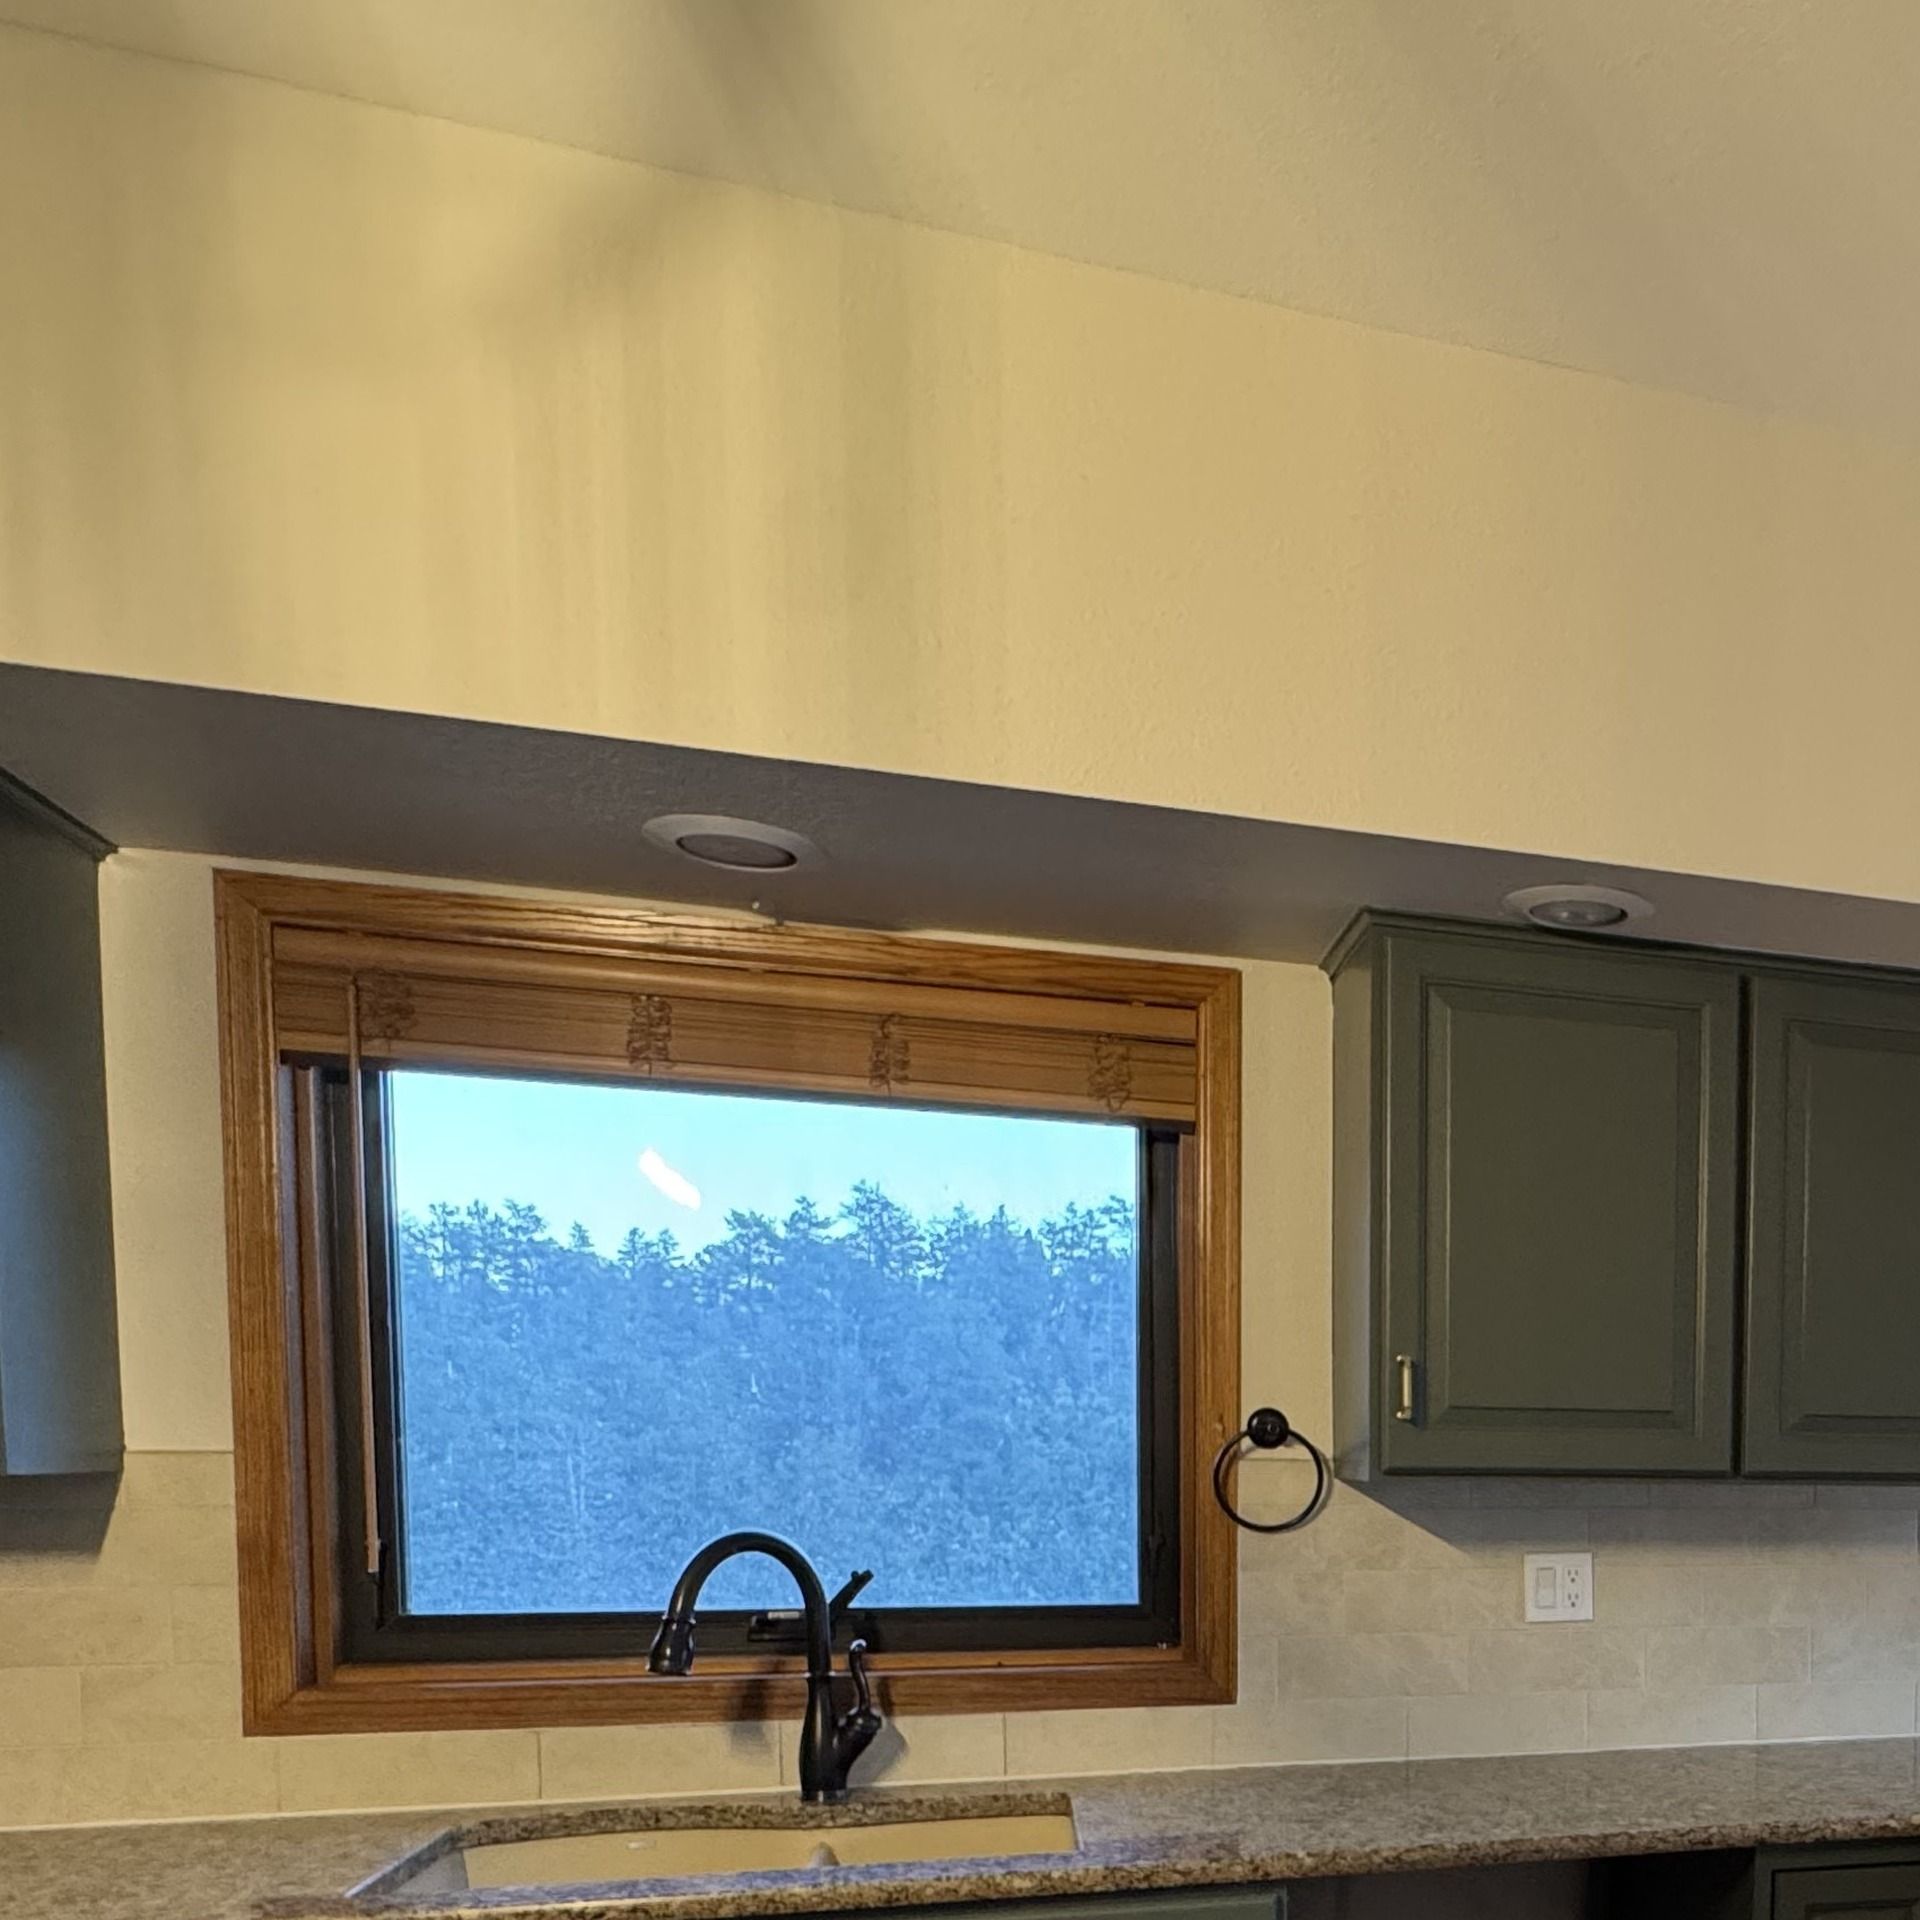
Cabinets along the window wall. Quiet color that sits easily with wood, stone and daylight.
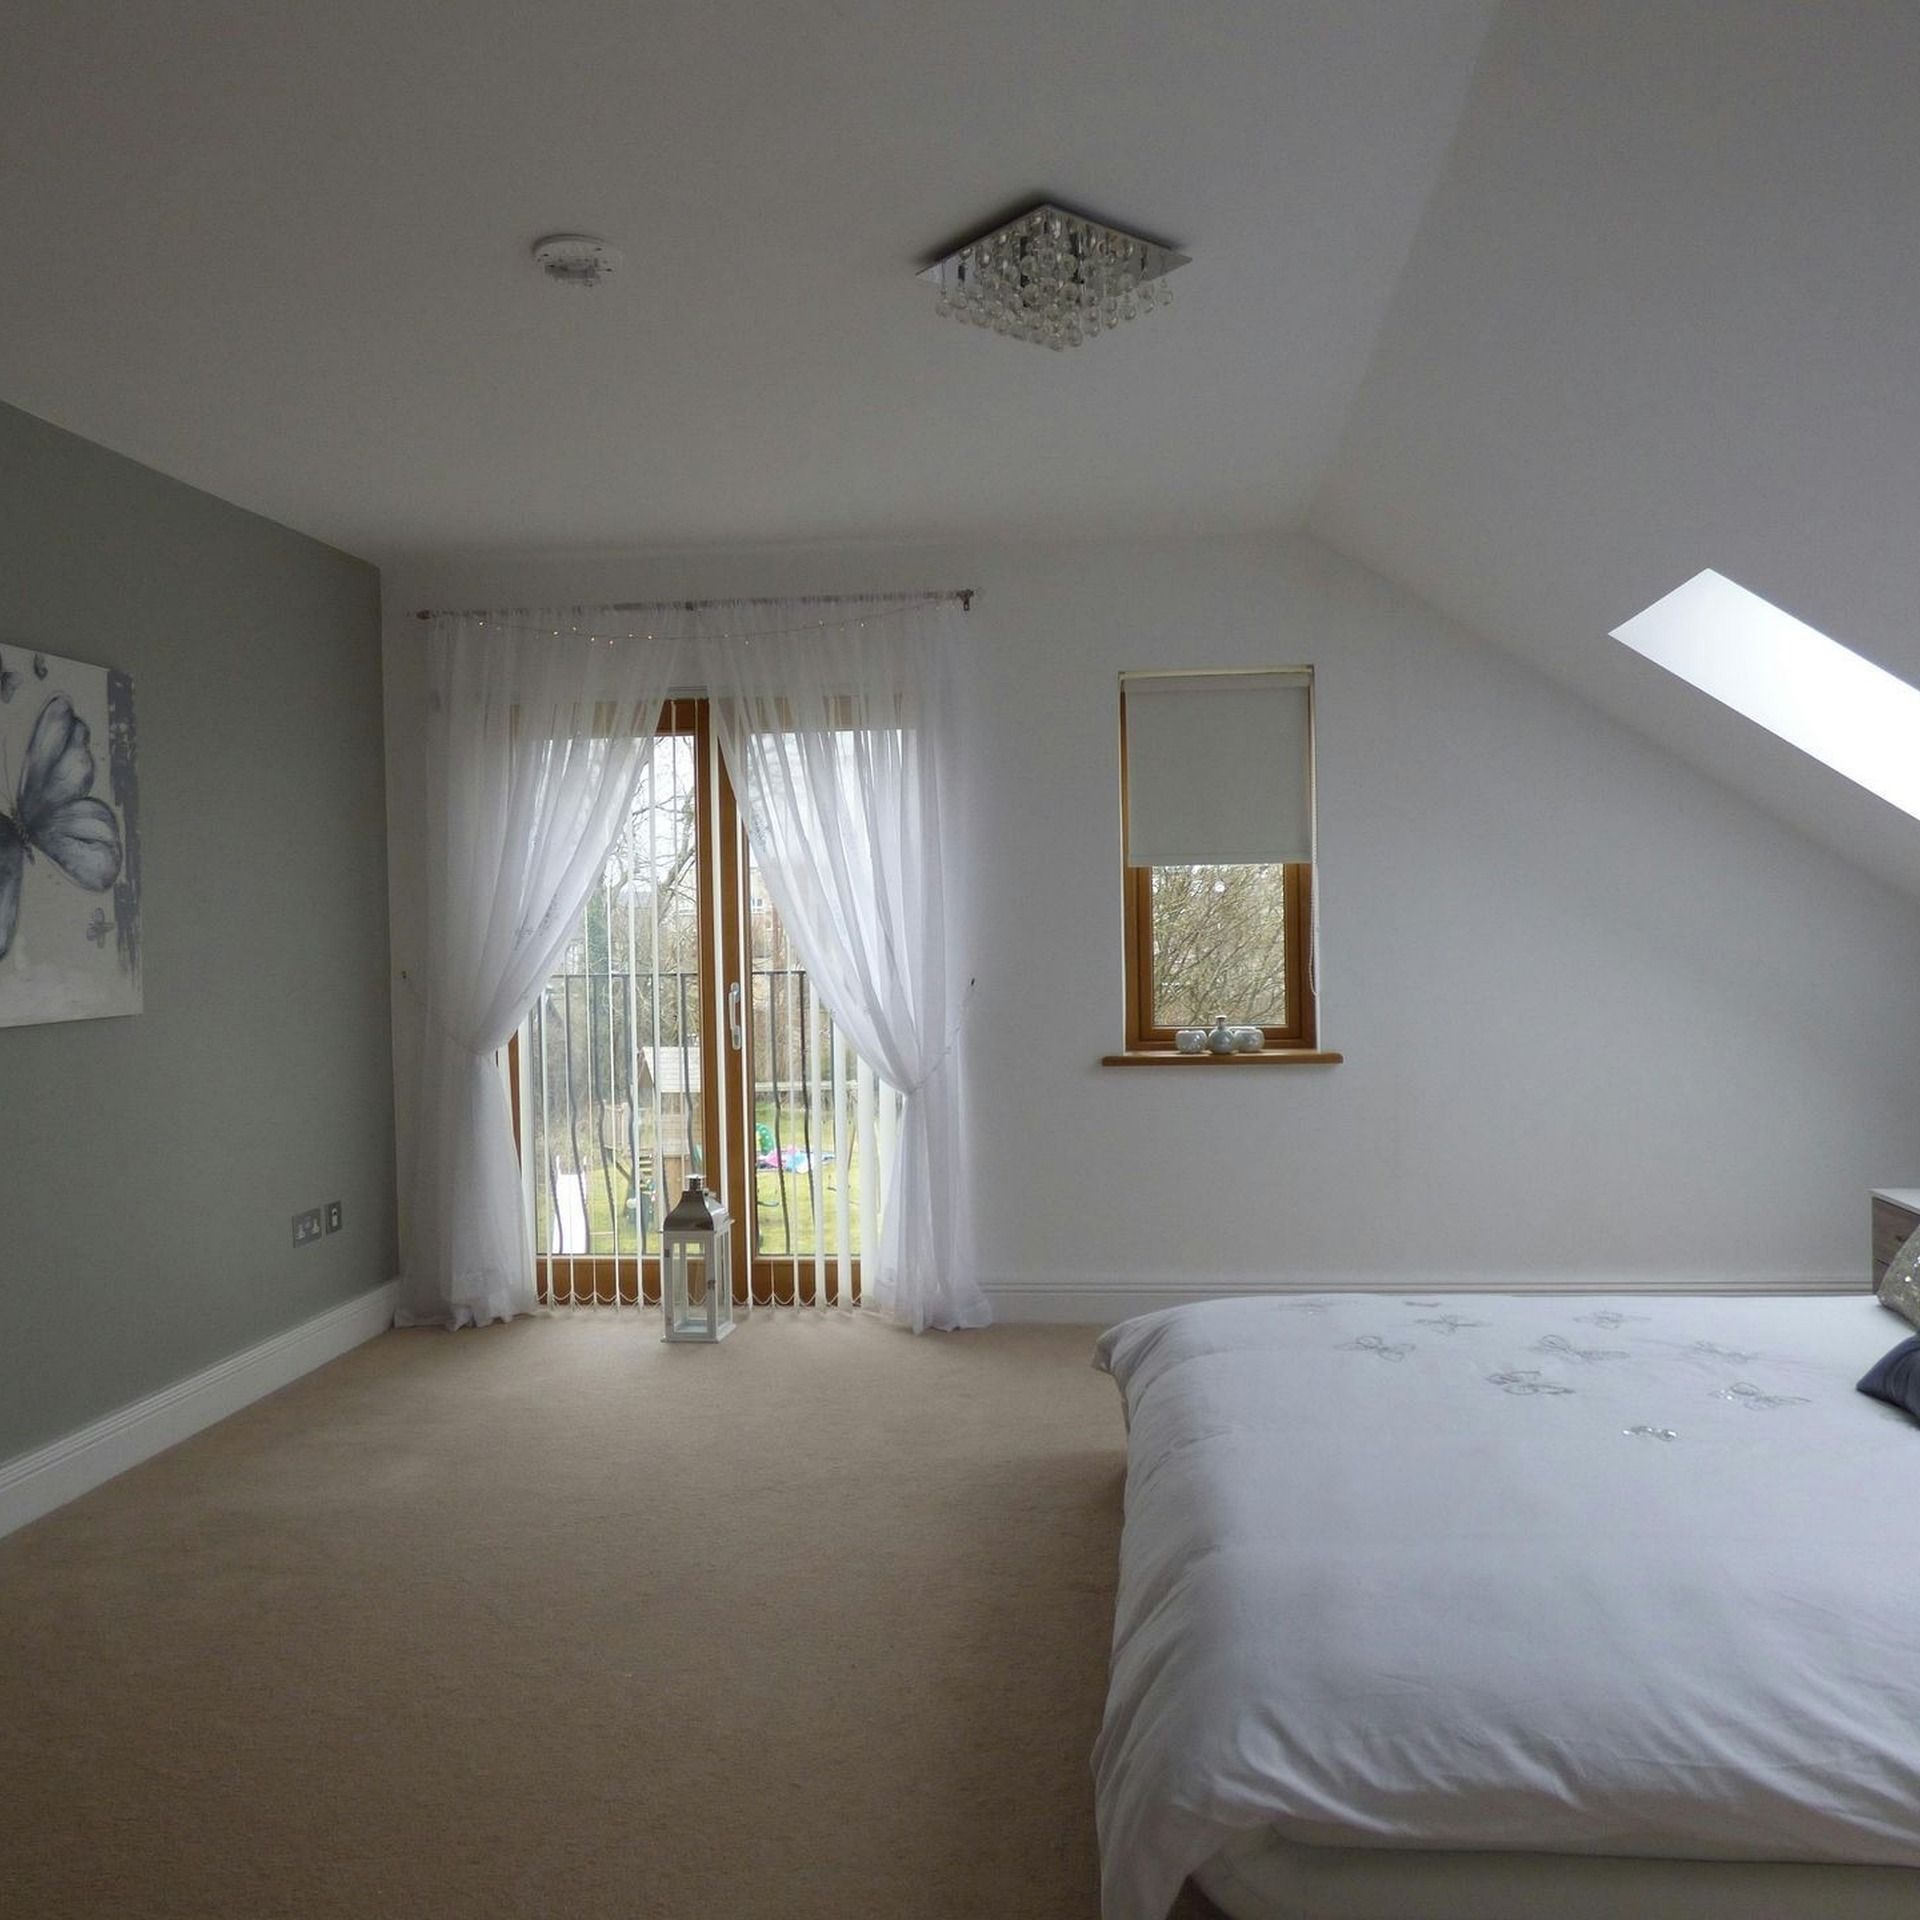
Bedroom accent wall. Soft accent. Steady light.
Color, sheen and the light you live with.
A paint sample is only the beginning. Look at it beside the flooring, trim and furniture that will remain. View it during the day and with the lamps you normally use at night. A color that feels calm on one wall may read differently across the room.
Carroll’s Interior Checklist puts sheen and texture alongside color when assessing a touch-up. Light grazing across a wall can reveal older repairs or a change in finish. Discuss whether feathering, texture work or painting a larger continuous area will better connect the repair to the surrounding surface.
Bathrooms and moisture-sensitive rooms
Tell us about recurring stains, peeling or damp areas before choosing a finish. The checklist calls for suitable preparation, primer and products selected for the room’s conditions. A cosmetic repaint does not resolve the source of a moisture problem; clarify any investigation or repair needed before painting.
Doors and cabinets: dry does not always mean ready for use
Ask for care and curing guidance for the selected coating. Confirm when doors, shelves and other finished pieces can return to ordinary use. A surface that feels dry may still need time before cleaning or normal contact.
THE WORK BEHIND THE FINISH
Thoughtful preparation. A clear path forward.
01
Walk the rooms
Review the areas you want painted, the changes you hope to make and the surfaces that need attention. Discuss furniture, pets, access and daily routines.
02
Define the preparation
Agree on protection, cleaning, patching, sanding, caulking and priming where the surface and scope call for them. Clarify the limits of existing texture.
03
Build the finish
Apply the agreed coating system with attention to coverage, transitions and details. Keep the work sequence connected to the way the home is being used.
04
Review together
Walk through the agreed areas, discuss any remaining items and explain care and curing guidance for the finish actually used.
A CRAFT PASSED HAND TO HAND
Experience should show up in the details.
In the Carroll family, learning the trade has meant working beside someone who notices what you missed. That habit matters inside a home: a repair seen in changing light, an edge that needs another look, or a question worth asking before the next coat. Peter III, IV and V keep that knowledge moving through work, learning and guidance.
Your interior painting estimate checklist.
Carroll’s original Interior Checklist starts with a practical idea: good questions make the work easier to understand before you commit. Use these questions during your Colorado Springs walkthrough so the proposal reflects your rooms, surfaces and priorities.
- Which surfaces are included? Name walls, ceilings, trim, doors, closets and any built-ins separately.
- What preparation will each surface receive? Clarify protection, cleaning, patching, sanding, caulking and spot-priming where appropriate.
- How will repairs blend? Discuss sheen, texture, feathering and the limits of a small touch-up.
- What coating system is specified? Identify the product, sheen, primer requirements and number of finish coats for each surface.
- How will the finish be assessed? Discuss coverage, transitions and visible roller marks or flashing under the room’s usual lighting.
- What happens around original details? Identify fragile trim and older materials to protect before preparation begins.
- How will the household use the space? Plan furniture, pets, room access, the work sequence and coating-specific care or curing.
- What is excluded or subject to change? Distinguish painting from extensive repairs, cabinet work and specialist tasks. Put scope changes in writing.
Before the visit, share photos of the rooms and close-ups of worn or repaired areas, your preferred timing, and any product or color records you have. The walkthrough helps define pricing and a schedule; an inquiry does not automatically reserve a painting date.
Request your free interior painting estimate → · Compare the work behind an estimate →
QUESTIONS BEFORE YOU BEGIN
Interior Painting: helpful answers.
Can you paint just one room?
Yes. Tell us whether you are refreshing one space or connecting several rooms. The estimate can be built around the areas you want addressed.
Do you repair drywall and match texture?
We offer drywall and texture repair. The condition and pattern of the surrounding surface affect the result, so we discuss the repair approach and realistic expectations before work begins.
Can I stay home during painting?
We discuss occupancy, access and the work sequence during planning. The answer depends on the areas involved, the materials selected and your household’s needs.
Will the finish hide every wall imperfection?
Paint changes color and sheen, but it does not make an uneven surface flat. Preparation and repair scope, existing texture and lighting all influence what remains visible.
Do you also refinish cabinets?
Yes. Cabinet refinishing is a separate service with different preparation and finish requirements. We can discuss it alongside your interior painting project.
How much will the work cost and how long will it take?
We assess the rooms, surfaces, preparation and access before proposing pricing and a schedule. We do not assign a one-size-fits-all price or duration from room count alone.
Keep exploring your project.
Cabinet Refinishing → Drywall & Texture Repair → Color & Finish Guide → Older & Historic Homes → Hiring Questions & Checklist →
REAL QUESTIONS. THOUGHTFUL PROJECT PLANS.
See how the scope becomes clear.
Explore anonymized Carroll estimates for the details homeowners often want to understand before interior painting.
- Spray and back-roll: a Woodland Park conversation about future touch-ups
- Wallpaper removal, minor repairs and the wall finish that follows
- Preparing a varnished stair railing for a painted finish
- Whole-home painting with clear room and door boundaries
These notes explain documented plans, not proof of completed work. Browse all interior and cabinet project notes.
LET’S START WITH YOUR HOME OR PROPERTY
Tell us what you want your rooms to feel like.
Send a project inquiry and we’ll follow up to discuss your needs and the next steps. If you prefer to choose a walkthrough time, use our scheduling page and follow its confirmation steps.